Requirements
- OpenSSL
- Redistributable Package
- MySQL Setup
- GitHub Desktop
- Visual Studio
- CMake
- Compiling Core
- Database Setup
- Extractors
- Configuration
- Automatic Database Updating
- Create an Account
Helpful Program
Windows Guide
OpenSSL
OpenSSL - The Win32/Win64 OpenSSL Installation Project is dedicated to providing a simple installation of OpenSSL for Microsoft Windows.
OpenSSL 3.0 and higher is required.
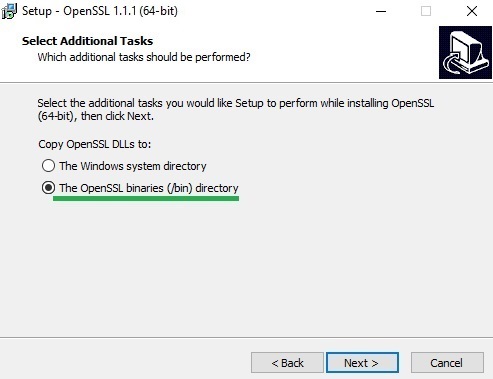
Do NOT use the light version of OpenSSL. Here are the direct links to the msi installer. Make sure to change the option to The OpenSSL binaries (/bin) directory
Win64
Find the 64bit version by finding the latest 3.X Win64 OpenSSL that is NOT the “light” version. (Example of a working Version: Win64 OpenSSL v3.1.6)
Wind32
Find the 32bit version by finding the latest 3.X Win32 OpenSSL that is NOT the “light” version. (Example of a working Version: Win32 OpenSSL v3.1.6)
Redistributable Package
The Visual C++ Redistributable Package Microsoft C and C++ (MSVC) runtime libraries.
Win64
64bit version https://aka.ms/vs/17/release/vc_redist.x64.exe
Wind32
32bit version https://aka.ms/vs/17/release/vc_redist.x86.exe
MySQL Setup
MySQL Server - Installation Project is dedicated to providing a simple installation of MySQL for Microsoft Windows.
Use version ≥ 5.7 with mysql server configuration.
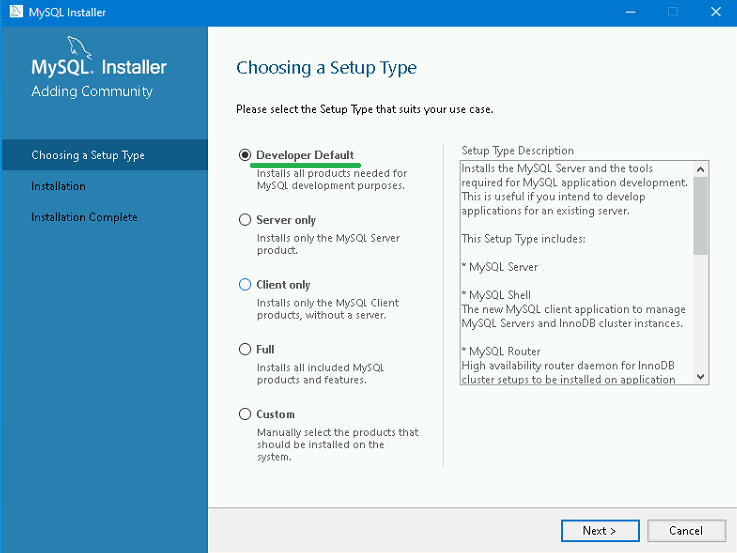
1. Start installer.

2. Select mode of server you can select Server only or Custom or just keep Developer (will installed all components).
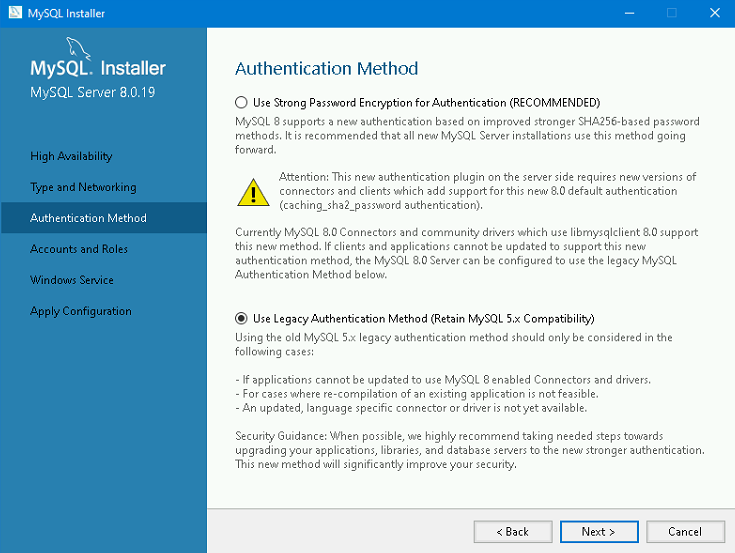
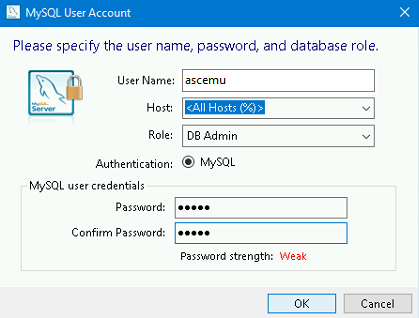
3. MySQL Authentication Method
3.1. Legacy Authentication In most cases your current MySQL Server uses already the Legacy Authentication Method. Check out the config files and set “LegacyAuth” = “1”
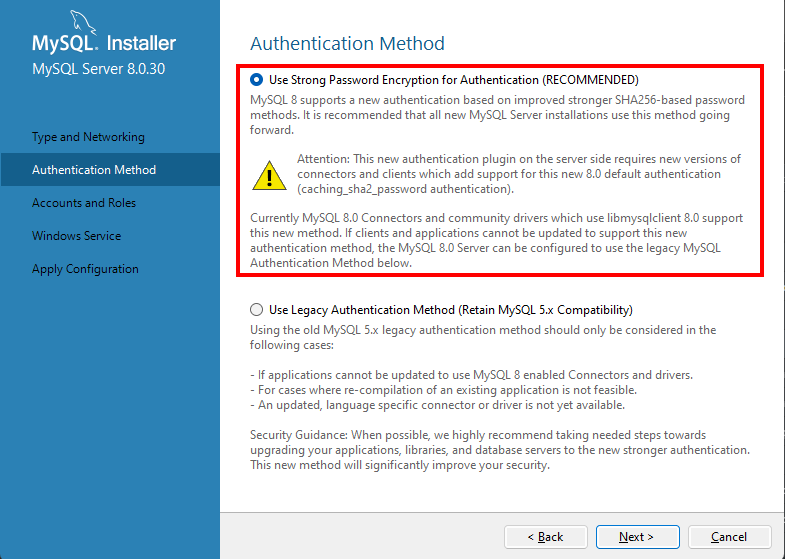
3.2 Default: String Password Encryption (recommended) We highly recommend using the Strong Password Encryption for new installed MySQL Servers. This is activated in your config files by default LegacyAuth = “0”
4. Set account login and password for root account : ascemu (login) ascemu (password).
5. Check the configuration: MySQL should start as a Windows service at system startup.
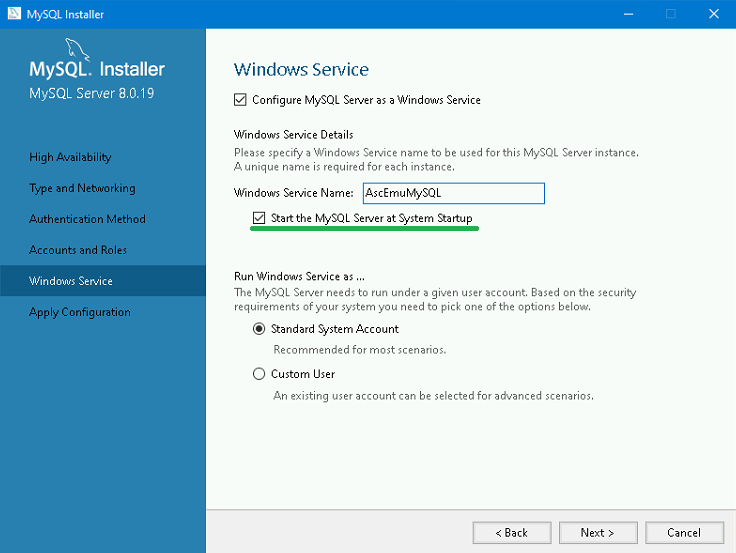
6. Optional: Config mysql server config
Sometimes you can receive a error: MySQL server has gone away (error 2006)
Attention: folder hidden – how to open.
Open file : C:\ProgramData\MySQL\MySQL Server 8.0\my.ini
# The maximum size of one packet or any generated or intermediate string, or any parameter sent by the
# mysql_stmt_send_long_data() C API function.
max_allowed_packet=4M
Change on max_allowed_packet=128M or 500M and restart mysql service.
GitHub Desktop
GitHub Desktop - Installation Project is an application that enables you to interact with GitHub using a GUI instead of the command line or a web browser.
Before you start working with the program, read the instruction Help guides.
Sign in to GitHub and GitHub Desktop before you start to clone.
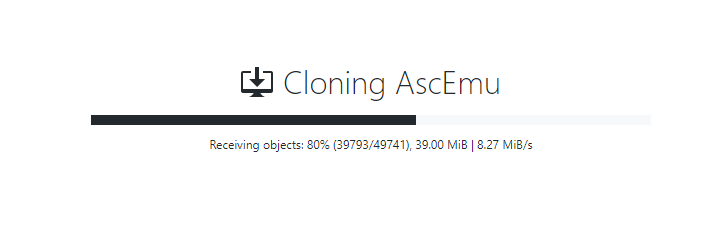
1. In the File menu, click Clone Repository.

2. Fill in the required information (Repository URL and Local path).

3. Click on Clone and wait until everything is loaded.
Visual Studio
Visual Studio - The comprehensive IDE for C++ developers on Windows.
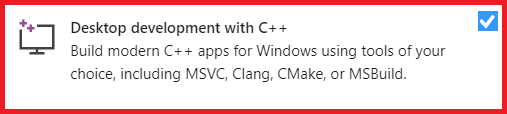
Installing Visual Studio make sure to select ‘Desktop Development with C++’ and install all required components.
CMake
CMake - Installation Project is an open-source, cross-platform family of tools designed to build, test and package software.
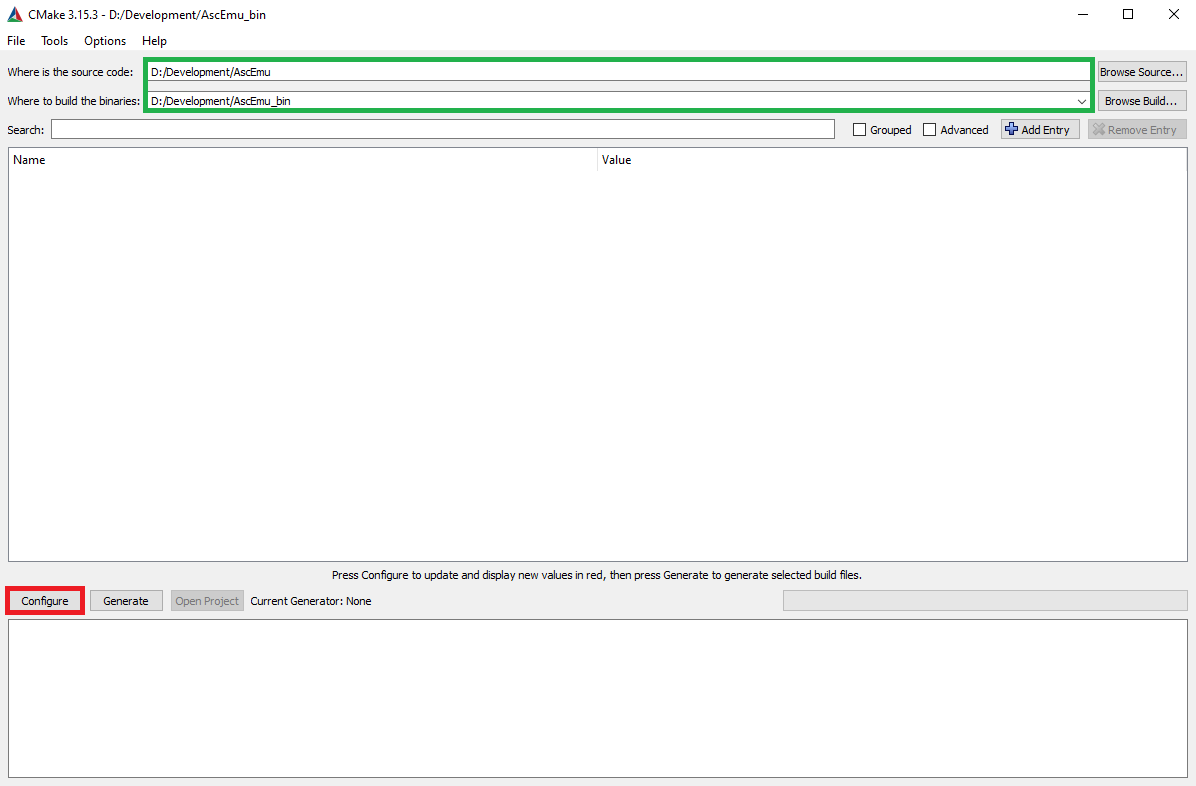
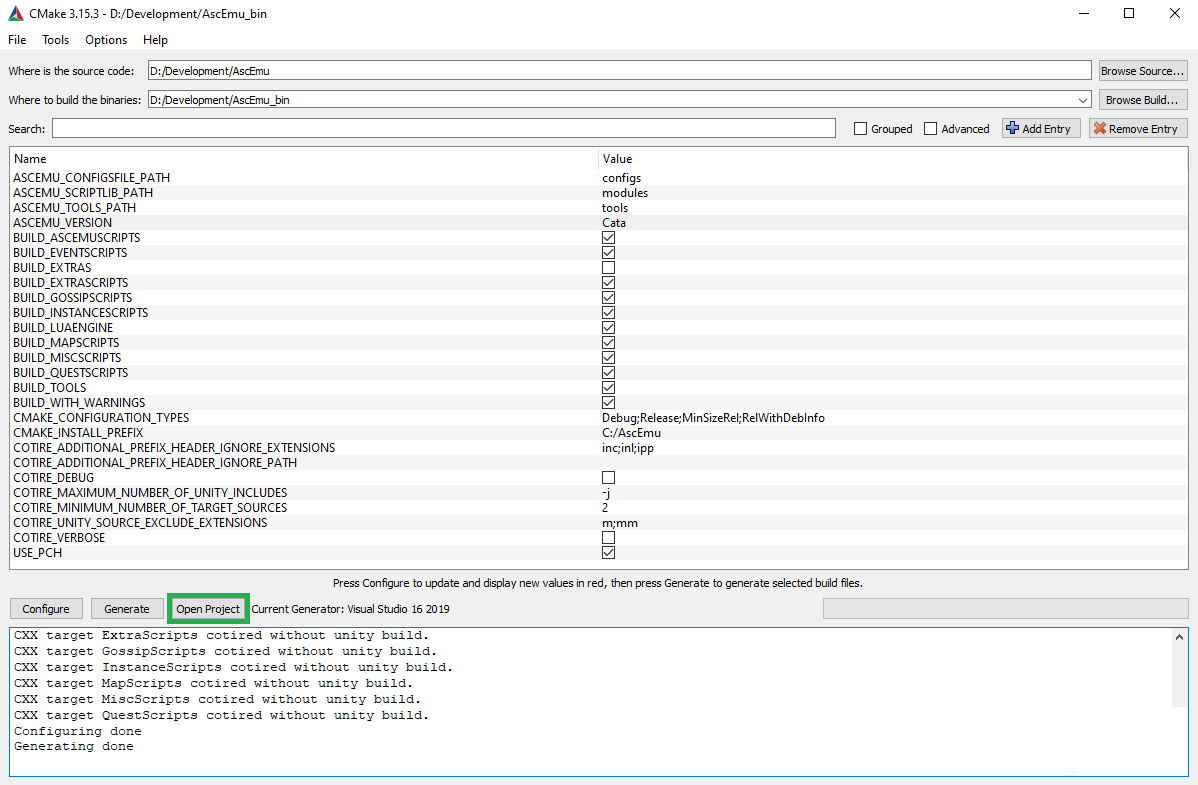
1. Open CMake (cmake-gui) and fill in the source-path and the build-path:
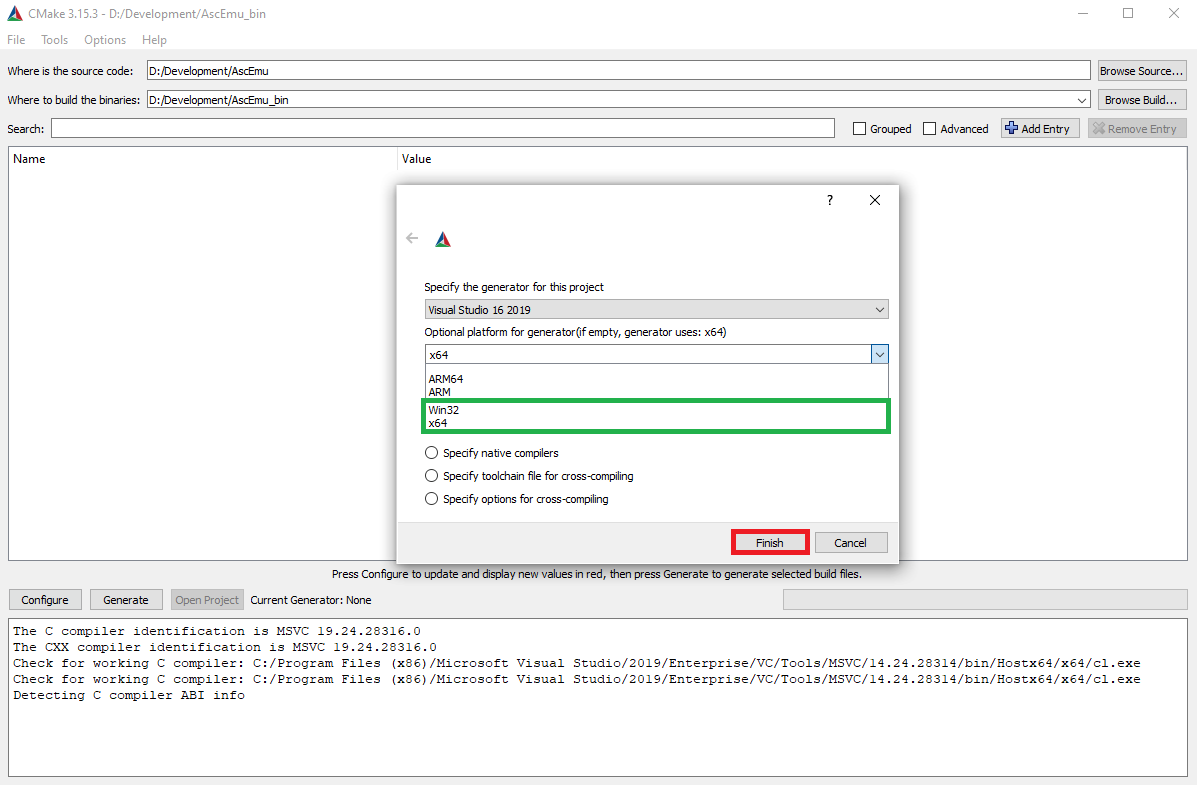
2. Choose your compiler Visual Studio or other.
Visual Studio 16, 17 is supported.
3. You should get a list with all available parts of our framework. Make your selection and press “Configure”. Remember to create the folder specified under CMAKE_INSTALL_PREFIX, otherwise the INSTALL project will fail.
You can choose which client should be supported by AscEmu.
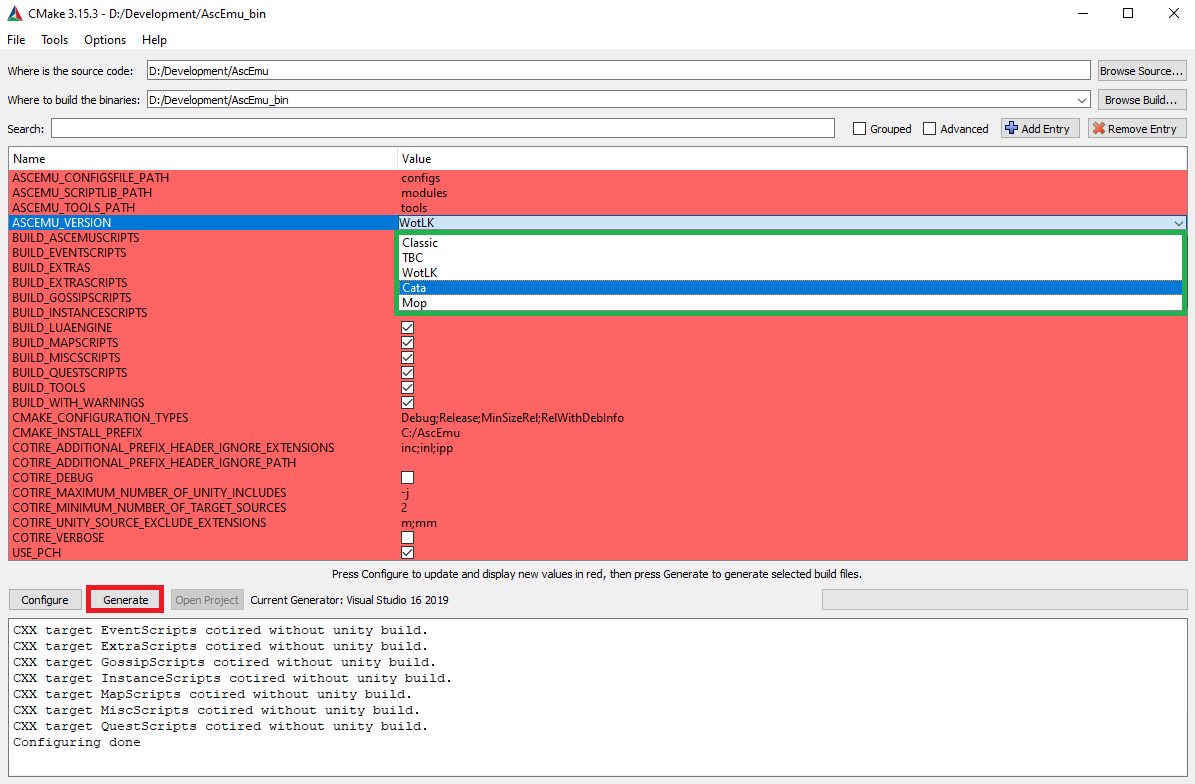
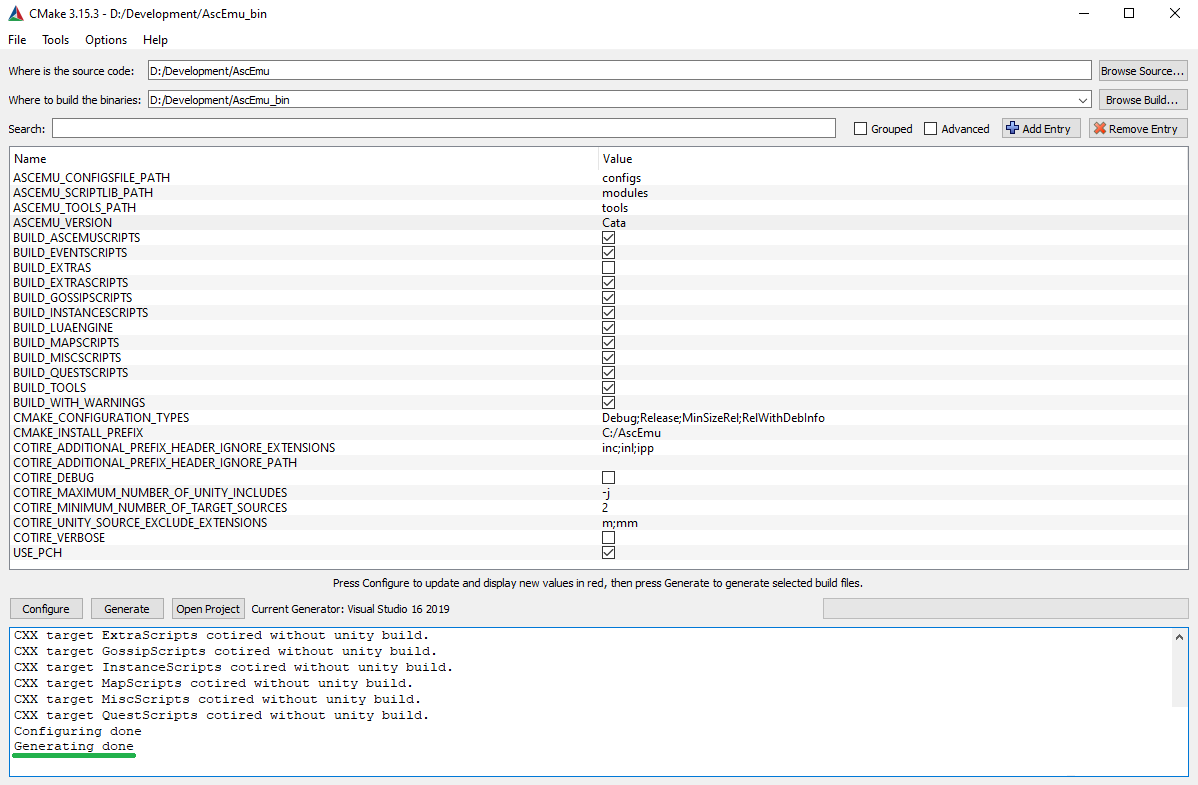
4. Now you can click on “Generate”
If you need maps, vmaps, mmaps enable menu item BUILD_TOOLS
Here is a quick view of the variables you can include with cmake command:
-DCMAKE_INSTALL_PREFIX = the location where AscEmu binaries are installed
-DCMAKE_BUILD_TYPE = choose from Release or Debug mode
-DBUILD_WITH_WARNINGS = 0 (disabled) or 1 (enabled)
-DBUILD_TOOLS = 0 (disabled) or 1 (enabled)
-DASCEMU_VERSION = choose from Classic, TBC, WotLK, Cata or MoP
-DUSE_PCH = 0 (disabled) or 1 (enabled) - Precompiled headers are enabled by default
Compiling Core
1. Open Project Ascemu.sln
2. Right-click on “Solution Ascemu” and choose “Build Solution” (F7).
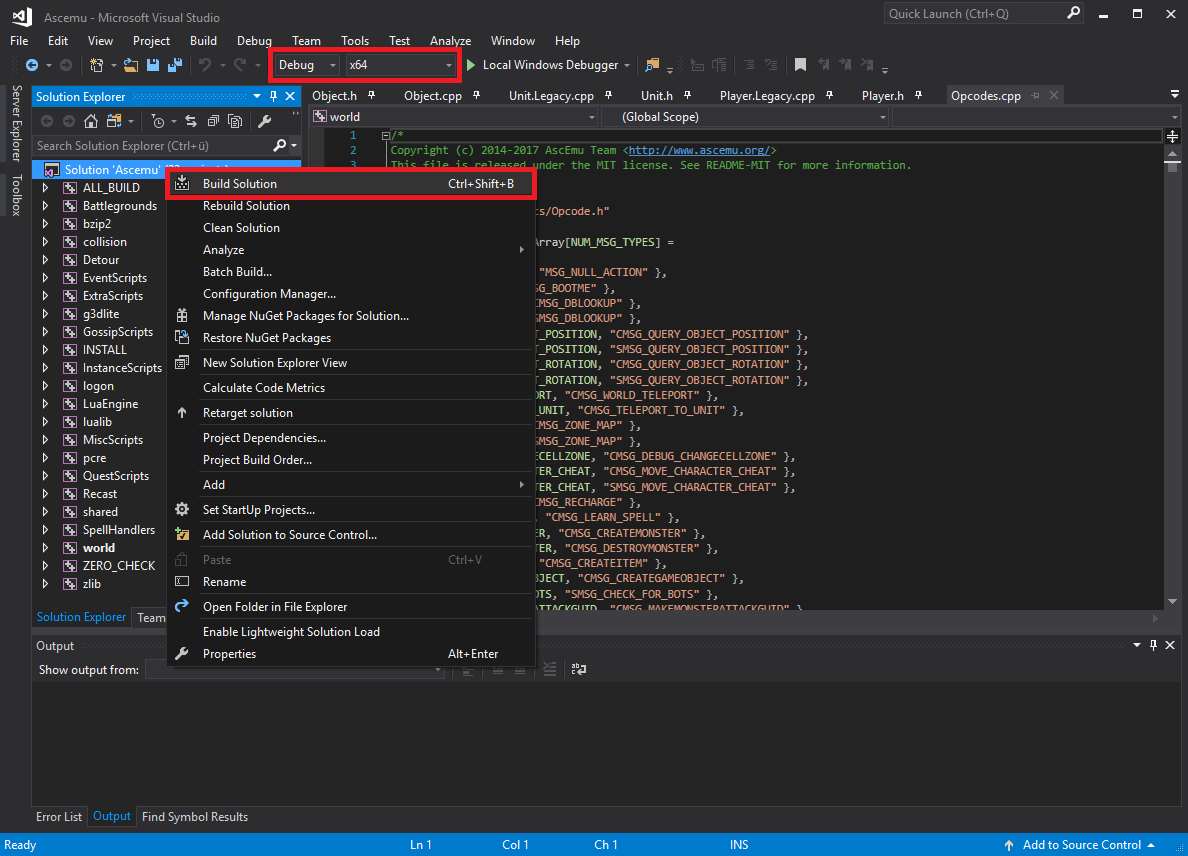
3. Wait while VS compiles your binaries. At the end VS shows something like this:
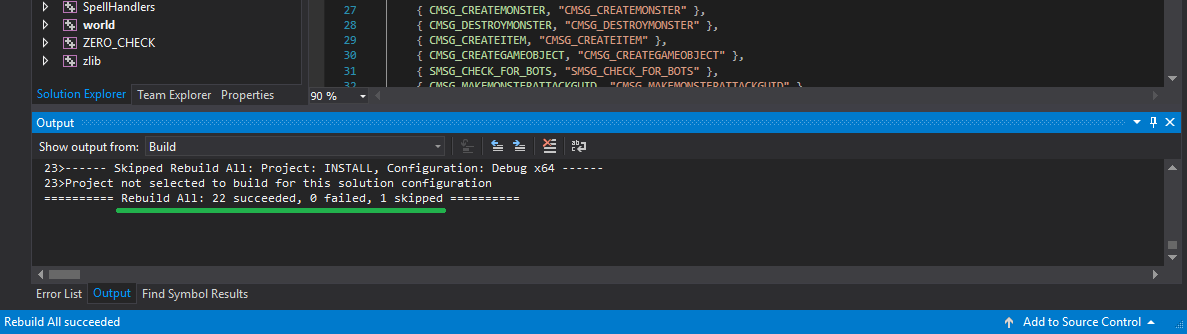
4. Right-click on “INSTALL” and choose “Project Only -> Build Only INSTALL”

5. The required server files will now be in the folder specified by CMAKE_INSTALL_PREFIX (by default: C:/AscEmu/)
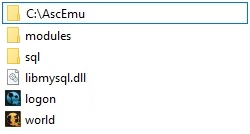
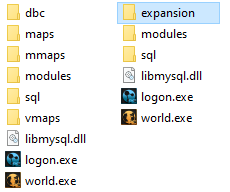
After compilation, the directory with ascemu should look like this.
Database Setup
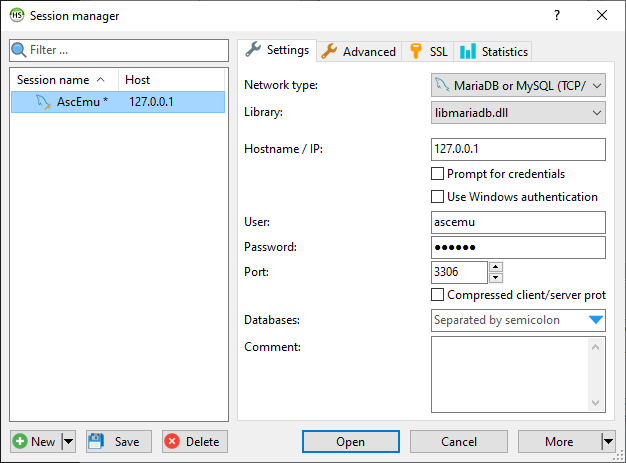
1. Open HeidiSQL and set account login and password for root account : ascemu (login) ascemu (password).
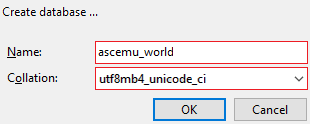
2. Create the 3 Databases (ascemu_world, ascemu_char, ascemu_logon).
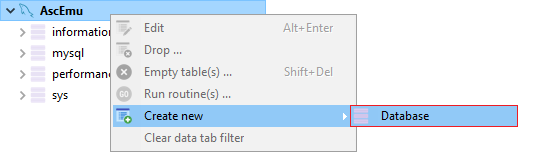
show with an example ascemu_world
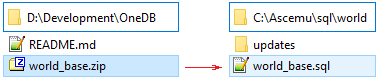
3. Download world db OneDB and extract the world_base.sql into your sql/world/ dir.
Extractors
You can find the extractors in:
C:/Ascemu/tools/
Copy all extractors (map_extractor.exe, vmap4_assembler.exe vmap4_extractor.exe, mmaps_generator.exe, ae_tools.bat) to you main WOW-folder (same folder where you can find wow.exe)
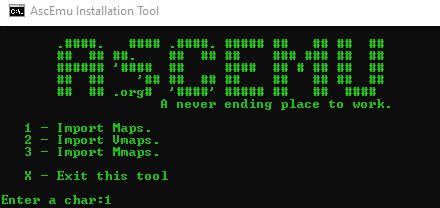
Run 1 - Maps (output: dbc and maps), 2 - Vmaps (output: vmaps), 3 - Mmaps (output: mmaps)
Optional You can test mmaps by running mmaps_generator . This will take a long time…
Copy all output directories (dbc, maps, vmaps opt. mmaps) to your server folder (C:/Ascemu/) or (C:/Ascemu/expansion)
“expansion” directory stores DBC, Maps, VMaps and MMaps data of a single version.
#   DataDir
#        Set up the data dir for DBC, Maps, VMaps and MMaps.
#        Default: "" (root directory)

DataDir = "expansion">
1 - root directory 2 - expansion directory
Configuration
Look for the *.conf files in the “configs” folder of AscEmu github-trunk. Copy the entire configs folder to your AscEmu Installation Folder in order for the server to read them.
Your “installation directory” should now look somewhat like this.
C:/Ascemu/configs/world.conf
C:/Ascemu/configs/logon.conf
Configuring logon.conf
Enter your MySQL information at the the following section.
<LogonDatabase Hostname = "localhost"
Username = "ascemu"
Password = "ascemu"
Name     = "ascemu_logon"
Port     = "3306">
Configuring world.conf
Enter your MySQL information at the the following section.
<WorldDatabase Hostname = "localhost" Username = "ascemu" Password = "ascemu" Name = "ascemu_world" Port = "3306">
<CharacterDatabase Hostname = "localhost" Username = "ascemu" Password = "ascemu" Name = "ascemu_char" Port = "3306">
Enter your Password in RemotePassword.
<LogonServer Address        = "127.0.0.1"
             Port           = "8093"
             Name           = "Default Logon"
             RealmCount     = "1"
             DisablePings   = "0"
             RemotePassword = "moo">
In db ascemu_logon->realms. (RemotePassword must match).

Automatic Database Updating
The process is automated, more information. It remains only to run logon.exe and run world.exe
Create an Account
1. Go to your world console and create an account.
createaccount <accountname> <password>
example: createaccount admin adminpassword
2. Change permission(gmlevel) in your world console:
setaccpermission <accountname> <permission>
example: setaccpermission admin az
For further information about access levels, have a look to this page GM Access Levels